
There are many different tutorials out there. I decided to try out a design made with foam board because it had better reviews. It was not only really inexpensive to make, but also easy! Oh and did I mention it only took me 20 minutes to make? :)
What you will need:

-5 sheets of White Foam Board 20" x 30" (I got mine at Office Depot for about $4.35 a piece)
-Packing Tape
-Paper (to cover the bottom edge so there is no "horizon" in your photos)
-100 watt Daylight Bulbs (I got a 4 pack at Lowe's for $8.78)
-2 or 4 Lamps (I am using 2 we bought from Target for $4.28 each)
-Razor Knife ($3.99 at Office Depot)
-Straight Edge
-Pencil
1. First you will want to attach the top to the back. Simply line up the two pieces of foam board, and tape them together.

2. Attach another foam board to create the bottom.
Thomas is obsessed with boxes! :) I had to protect the foam from being squished while I was taking a quick picture!
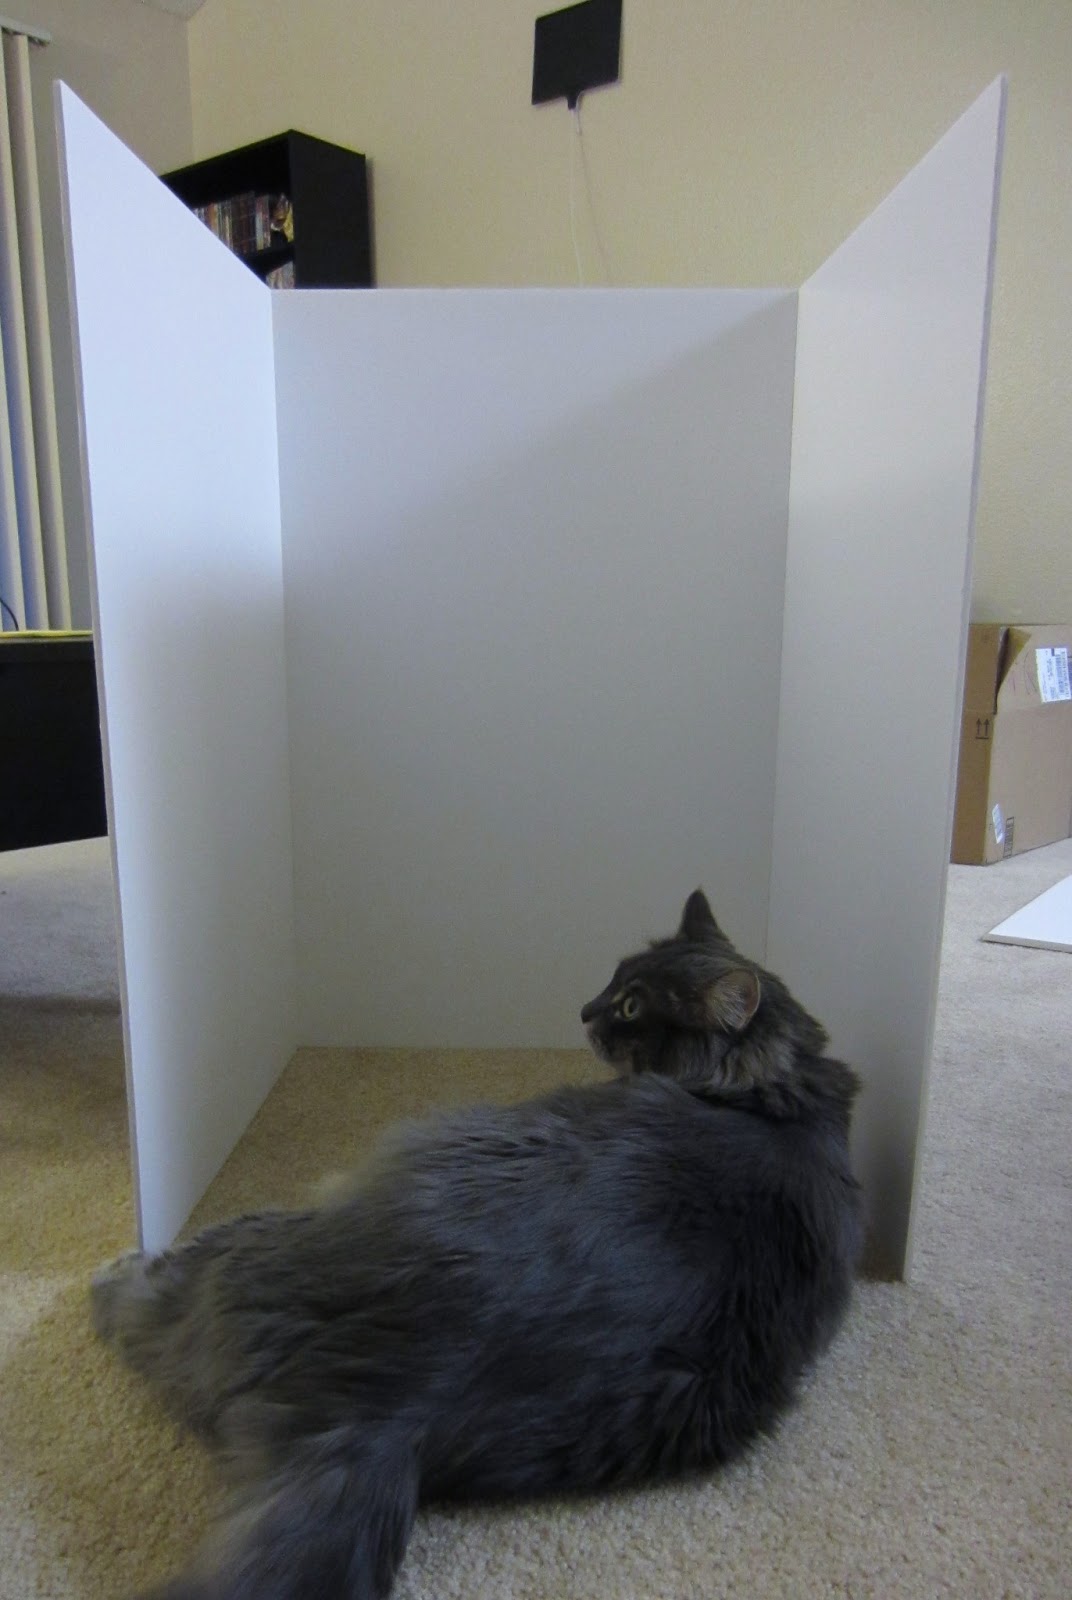
3. Attach the sides and cut off the extra foam board.

Kitty trying to sneak into my white box... Naughty little guy.
4. Once your box is assembled, add a strip of paper (you could even use white tape) so there is a seamless transition between the two pieces of foam board. I used tissue paper because it matched the color of my box the best.

5. Almost done! This part is optional, but I recommend it if you want to take a top view photo. Simply cut out a hole at the top of the box. Make sure to only cut three sides, and score the last. This will be the fold so you can open and close the top.

6. And there you go! You now have your very own light box!


These were the closest things to me while I set up the lights. I know it is a lame "model" and needs some editing, but not too shabby quality!
I have decided I want to get two more lamps to use. The brighter the white, the better (in my opinion)! Have a wonderful weekend everyone! Thanks for stopping by! :)
Linked to Skip to my Lou.
No comments:
Post a Comment