HEADER - Web

Home About Me Tutorials Recipes Grab a Button Contact Shop Image Map
Showing posts with label Etsy. Show all posts

Monday, April 15, 2013

Make Your Own Labels

Buying labels with your logo on them are SO EXPENSIVE!! And as much as I wanted them I could not bring myself to spend $60 plus on them.. :(

Well last week when I went to the craft store, I happened to stumble upon ... wait for it ... FABRIC PAPER. It got my crafty brain all excited and pumped! No more excuses not to have my logo on tags now! :)


Now I know you want a how to! It is super simple! Here you go.

Materials:

- One package of Computer Printer Fabric
- Printer
- Ink
- Computer

(I know you need to go pick up all these things, right? :])

1. Design your logo. I already had mine done so it was just a matter of re sizing the image. :)

2. I grabbed a template off of Avery's website {here}, downloaded it, and inserted my image. 

3. Follow the instructions on your printer fabric and print. I had to let mine set for 10 minutes, then iron on high with no steam for two minutes. Super easy!

Here they are all printed out! :)

4. Next, I ironed my sheet onto some Pellon 808. 

5. Cut out your tags. Make sure they are straight! ;)

6. Fold over the edges on the sides so your tag looks pretty, and press. Be careful of your fingers! I used an old antique iron my Grandma gave me to help get the tags pressed nicely! If you don't have an antique iron, you should! I can not imagine ironing without mine! 

7. And PRESTO! Your tags are done!


Word of warning. These tags are NOT waterproof. So if you put them on Etsy items that are washable, make sure you state to not wash the tag. :)

Sunday, March 24, 2013

Items in the Shop


Have you checked out the Etsy Shop yet?? If not, you should definitely browse around! I know there isn't much on there yet, but just wait! This weekend I made another wallet for the shop, came up with a new item, and made the first prototype! I like to have my items tested out before I put them in the shop to make sure they are up to snuff.. My mom and sister are the lucky guinea pigs (and of course yours truly :])! So be sure to check back in a couple of weeks to see the BIG reveal! 


Multicolored Floral Wallet

Multicolored Floral Wallet


Pink and Yellow Floral Wallet

Pink and Yellow Floral Wallet
Pink and Blue Floral Wallet

Pink and Blue Floral Wallet

Leafy Burlap with Turquoise (Left Handed) Wallet 

Leafy Burlap with Turquoise (Left Handed) Wallet 

All wallets have an exterior zipping coin pocket as well! Be sure to view our Esty Shop for more pictures, features, and wallet details!

I am BEYOND excited to finally have my own Etsy Shop! I have been wanting to do this for a really long time. Please check back often! I have a lot of really fun product ideas in the works! Thank you for stopping by! :)


Saturday, March 2, 2013

Homemade Light Box

Recently, I have been working really hard to get a small inventory of sewing projects and crafts together to start an Etsy shop. I went to take some pictures of my products last weekend and they did not look good at all. :( I wanted the background to be white (it seems peoples products look better against white, and overall makes the look more professional). So I ran to my best friend.... Google! After some time, and various different searches, I stumbled on "The Light Box".

There are many different tutorials out there. I decided to try out a design made with foam board because it had better reviews. It was not only really inexpensive to make, but also easy! Oh and did I mention it only took me 20 minutes to make? :)

What you will need:


-5 sheets of White Foam Board 20" x 30" (I got mine at Office Depot for about $4.35 a piece)
-Packing Tape
-Paper (to cover the bottom edge so there is no "horizon" in your photos)
-100 watt Daylight Bulbs (I got a 4 pack at Lowe's for $8.78)
-2 or 4 Lamps (I am using 2 we bought from Target for $4.28 each)
-Razor Knife ($3.99 at Office Depot)
-Straight Edge
-Pencil

1. First you will want to attach the top to the back. Simply line up the two pieces of foam board, and tape them together. 


2. Attach another foam board to create the bottom. 

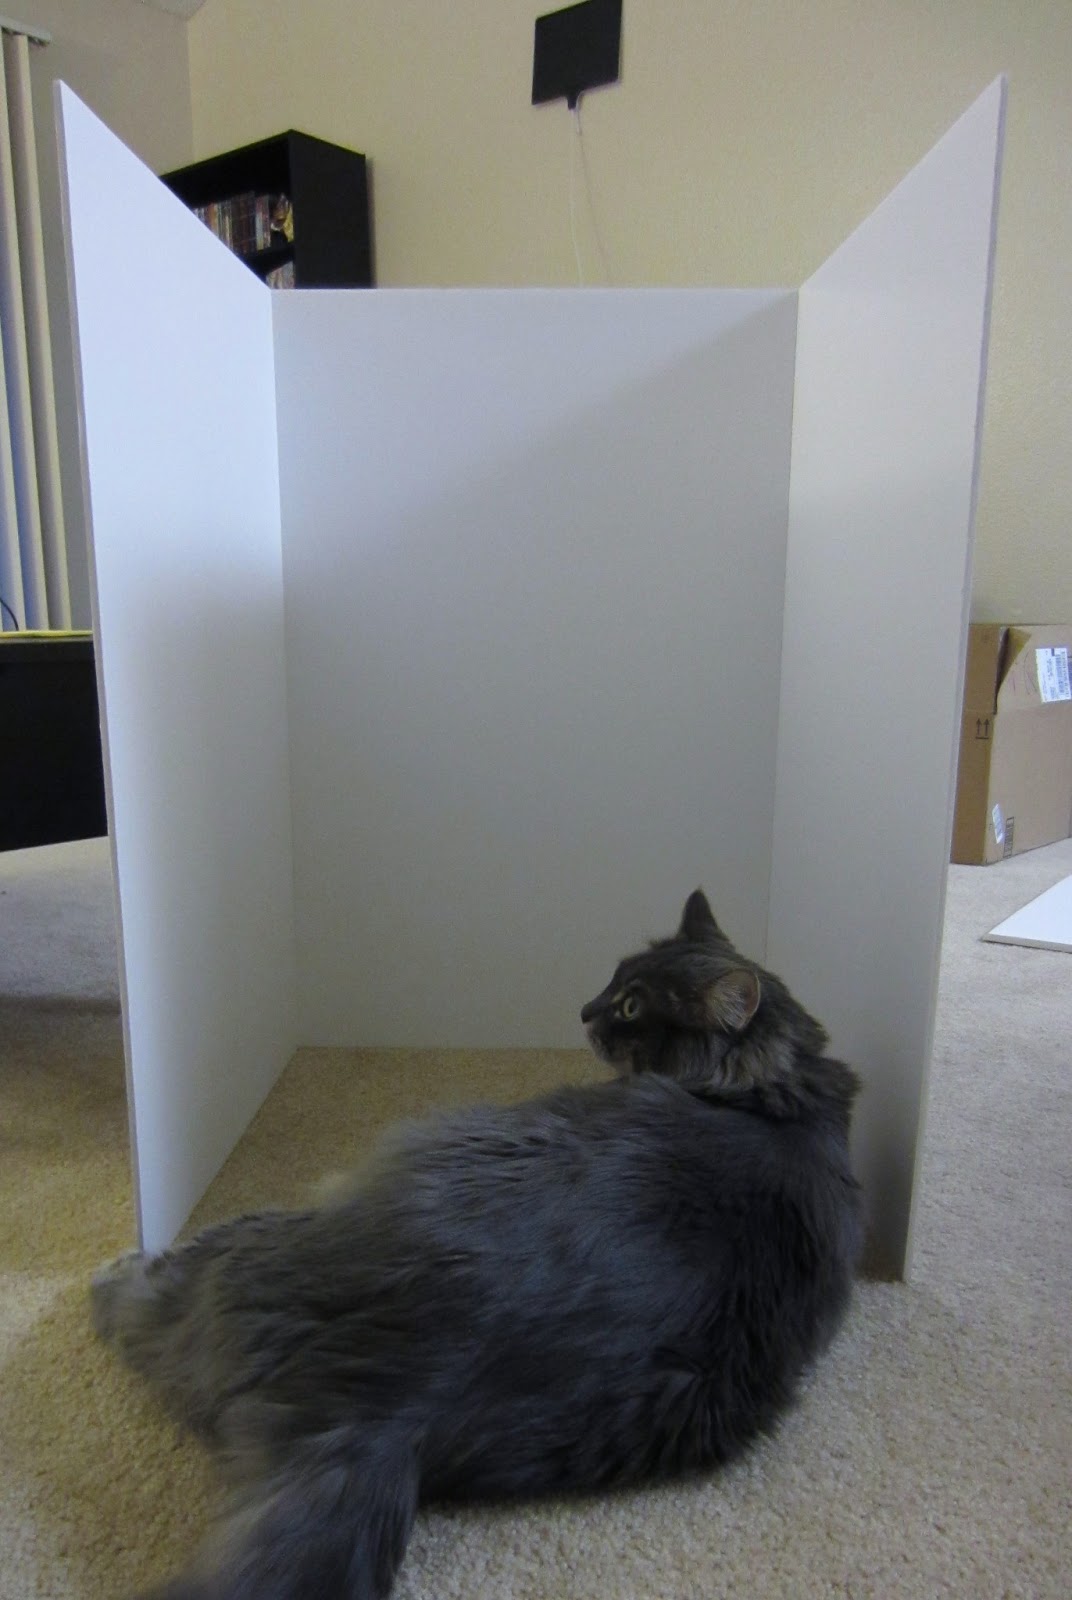
Thomas is obsessed with boxes! :) I had to protect the foam from being squished while I was taking a quick picture!

3. Attach the sides and cut off the extra foam board. 

  Kitty trying to sneak into my white box... Naughty little guy.

4. Once your box is assembled, add a strip of paper (you could even use white tape) so there is a seamless transition between the two pieces of foam board. I used tissue paper because it matched the color of my box the best.


5. Almost done! This part is optional, but I recommend it if you want to take a top view photo. Simply cut out a hole at the top of the box. Make sure to only cut three sides, and score the last. This will be the fold so you can open and close the top. 


6. And there you go! You now have your very own light box!


These were the closest things to me while I set up the lights. I know it is a lame "model" and needs some editing, but not too shabby quality!


I have decided I want to get two more lamps to use. The brighter the white, the better (in my opinion)! Have a wonderful weekend everyone! Thanks for stopping by! :)


Linked to Skip to my Lou