HEADER - Web

Home About Me Tutorials Recipes Grab a Button Contact Shop Image Map
Showing posts with label DIY. Show all posts

Saturday, February 1, 2014

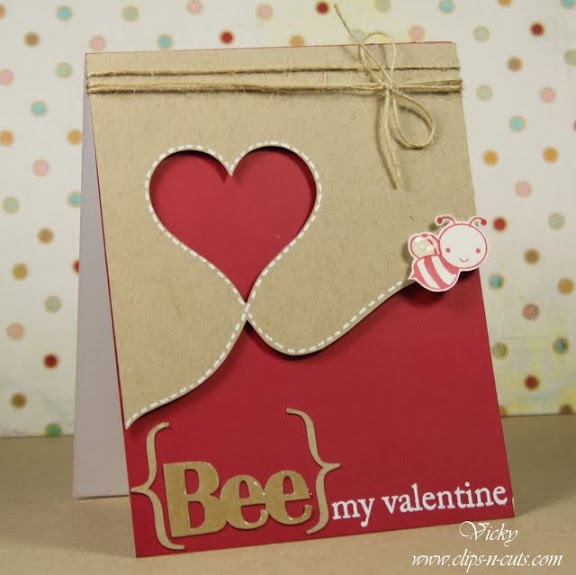
Good Ideas - 14 DIY Valentine's Day Cards


Valentine's Day is upon us! I would be bluffing if I said I loved this holiday. The truth is, it really isn't a big deal to me. I will not be disappointed if I don't receive any flowers or jewelry. Tom and I have never really done anything elaborate for the holiday since we both feel like it isn't worth all the hustle and bustle. Instead we normally make dinner with each other at home (which is normally a heart shaped steak we split in half, yummy) and give each other a card with love notes inside. Quite honestly, that is all I need to be satisfied on v-day. 

Speaking of love notes, I usually make the cards I hand over to Tom for the day. For some inspiration I hopped on Pinterest and started searching for some DIY card ideas. You can check out my Valentine's Day Board for more DIY card and craft ideas. Below I have included my top 14 favorites. I may have to make some (or all) of these and send them out to loved ones and friends, since I totally forgot to send out our Christmas cards last year, oops! 


On another, unrelated note. Tomorrow is the SUPERBOWL!!! GO SEAHAWKS! 


Thursday, January 30, 2014

DIY Dog Training Bell

Tifa is now almost 9 months old.. So crazy to think about. These past few months she has been challenging to say the least. Within the first month of us being in our new apartment she had chewed a hole in our carpet, the molding around the bathroom door, countless socks from our laundry basket, and a whole roll of toilet paper. We also discovered she can jump over baby gates! :/ Boo.  

I think it is safe to say she is finally coming out of this rebellion stage (knock on wood). She is turning out to be a great dog though. One thing I absolutely love about her is her willingness to learn new tricks. She is hands down the smartest dog I have ever met! In about 10 minutes Tom taught her how to roll over. Pretty awesome if your ask me, but then again I am a little biased. 

I have always wanted a dog who told me when they needed to "go outside". So after doing some initial research, I decided it was time to make her a bell and get started! If you want to learn how to train your dog to use a bell, {this} was my favorite article I found! 


And now without further interruption, here is how you can make your own dog training bell! 

Supplies:

- Bell 
- Wire Edged Ribbon 
- Scissors
- Hot Glue Gun and Glue Sticks

Directions:

1. First things first, you want to make sure your pooch can reach the bell so she can tell you she has to go outside! Once you have your dog handy, measure the length of ribbon you will need and then cut. 

2. If your ribbon is too wide to fit around the door handle like mine, fold the middle of your ribbon in half "hot dog style". Then take your hot glue gun and glue the halves together so they stay folded and will fit nicely over your handle.


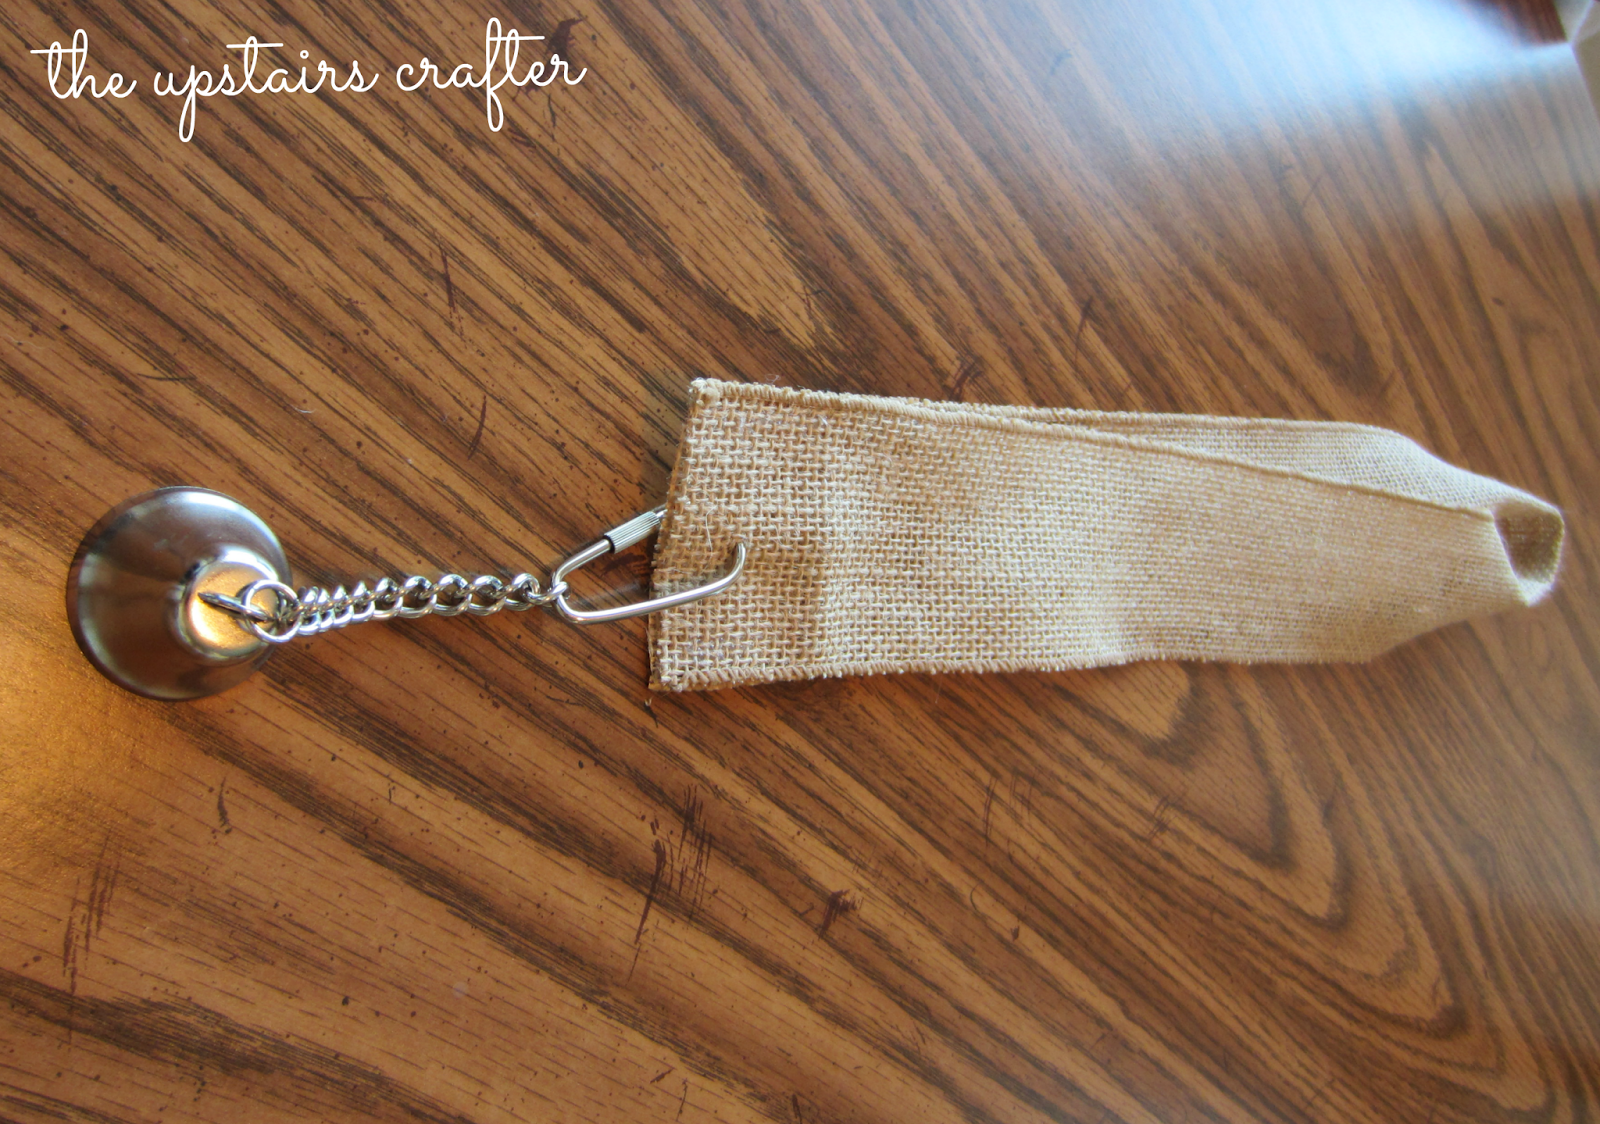
3. Bring the ends of your ribbon together so you can attach your bell. I used a bell from a bird toy I found at the pet store. It was way cheaper than an actual "dog training bell", $6 as opposed to $30. Yay for being cheap! Hot glue the ends together and hook on the bell. 


4. Next you will want to make a pretty bow. Cut an appropriate length of ribbon and tie away. I had to fiddle with the knot for a few minutes so it wasn't twisted up. Then I cut triangles to make the bow a little more fancy. 


5. Hot glue your bow over the bell hook. If you want you can sew in a couple of stitches for extra support. I will say I only used hot glue and after two months of being up it is still very secure! The choice is up to you! Hang your bell over the door and you're done! 


I am super happy with the way my bell turned out! For me, burlap was the perfect choice as it is durable and will go with any decor for any occasion. The best part about this project was after only two short weeks Tifa was ringing the bell to let us know she had to go outside!


This picture was taken a couple weeks before Christmas, so she is a little bigger now and bulked up a little bit. Send me pictures of your finished dog bells with your furbabies, I would love to see them! You can find my email address under the "say hi" section of the blog. Or tag me on Instagram or Twitter using @upstairscrafter :)

Monday, January 13, 2014

Good Ideas - 10 DIY Winter Projects


Things around here have been pretty average which is awesome. I feel like we have been going and going since we moved back to Oregon and things are finally starting to slow down. I was in need of a few mundane days to be honest. 

If you read the blog regularly or "Like" me on Facebook you will know that I have been working hard to get organized as one of my 2014 resolutions. I am happy to report it is going really well! I am keeping up with my planner (which is making my life so much easier by the way) and this past week I had all our meals planned out and actually followed through on my schedule! More on that later! The kitchen has stayed super clean, with little to no dirty dishes hanging out around the house. I must admit this is a success because Tom is really helpful in the dishes department! I wish I could boast about conquering the laundry pile, but that would be fibbing. Maybe next week? 

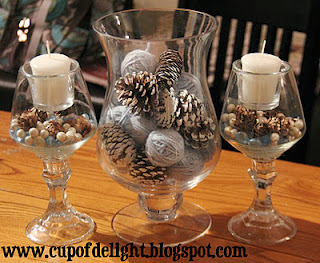
This past weekend I took down all of our Christmas decorations (boo), so now our apartment is looking a little sad and dull. In hopes of making our home feel a little "festive" still I found a few great ideas on Pinterest that I wanted to share with you all! I even threw in a couple of tutorials for you to wear and show off while on the go! 


**BONUS**

I ended up leaving my snowflake decorations up because I like them and they are the perfect post-Christmas decoration.


Friday, December 13, 2013

DIY Popsicle Stick Snowflakes


Its beginning to look a lot like Christmas around our apartment! I love putting up our decorations and making the place look like elves live with us, the animals love it too! Our hallway was looking a little bare so I decided to make some popsicle stick snowflakes to hang on two of the doors. I love how they turned out and will definitely be making more for around the house, I'm thinking some will even be red! 

The nice thing about these snowflakes is you can leave them up after Christmas ends so your house doesn't feel so bare and dull. I always get sad when I have to put my Christmas decorations away, so I am all about the "transition" decorations. Want to make some of your own? Read on!

You will Need: 


- Popsicle Sticks (I used 24 for the small snowflake and 36 for the large snowflake)
- Paint or Spray Paint of your color choice
- Hot Glue Gun and Glue Sticks
- Ribbon, Nail, and a Hammer to hang

Directions:


1. Paint or spray paint your popsicle sticks the color of your choosing.

2. After your popsicle sticks have dried, begin gluing the sticks together to form your snowflake design.

3. Once completed, cut a piece of ribbon and use it to hang your snowflakes where you want them displayed. You could even just use a nail if you are hanging them on the wall!

And that's all you need to do to create you very own popsicle stick snowflakes! Here are my finished products.


If you need more inspiration for snowflake designs check out these pins from my Pinterest Christmas board.


Be sure to grab my button and link up your own popsicle stick snowflakes below! ;)

The Upstairs Crafter


Wednesday, December 4, 2013

Good Ideas - 25 DIY Christmas Gifts


Welcome to another "episode" if you will of Good Ideas. For those of you who are just getting to know me, I love Christmas. It is my favorite time of year, hands down. I love decorating the house, excuses to bake cookies and eat them for breakfast, I love watching little kids get excited for a visit from Santa, my list could continue for days. Bottom line is I love Christmas. 

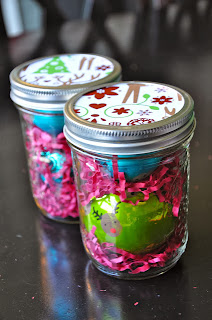
Today's Good Idea post is all about DIY Christmas gifts. I have put together 25 of my favorite DIY Christmas gift ideas to inspire you this season! Some of these could easily be modified for birthday gifts and party favors as well! For more DIY Christmas ideas stop by my Christmas board on Pinterest. Enjoy!