I think it is safe to say she is finally coming out of this rebellion stage (knock on wood). She is turning out to be a great dog though. One thing I absolutely love about her is her willingness to learn new tricks. She is hands down the smartest dog I have ever met! In about 10 minutes Tom taught her how to roll over. Pretty awesome if your ask me, but then again I am a little biased.
I have always wanted a dog who told me when they needed to "go outside". So after doing some initial research, I decided it was time to make her a bell and get started! If you want to learn how to train your dog to use a bell, {this} was my favorite article I found!
And now without further interruption, here is how you can make your own dog training bell!
Supplies:
- Bell
- Wire Edged Ribbon
- Scissors
- Hot Glue Gun and Glue Sticks
Directions:
1. First things first, you want to make sure your pooch can reach the bell so she can tell you she has to go outside! Once you have your dog handy, measure the length of ribbon you will need and then cut.
2. If your ribbon is too wide to fit around the door handle like mine, fold the middle of your ribbon in half "hot dog style". Then take your hot glue gun and glue the halves together so they stay folded and will fit nicely over your handle.
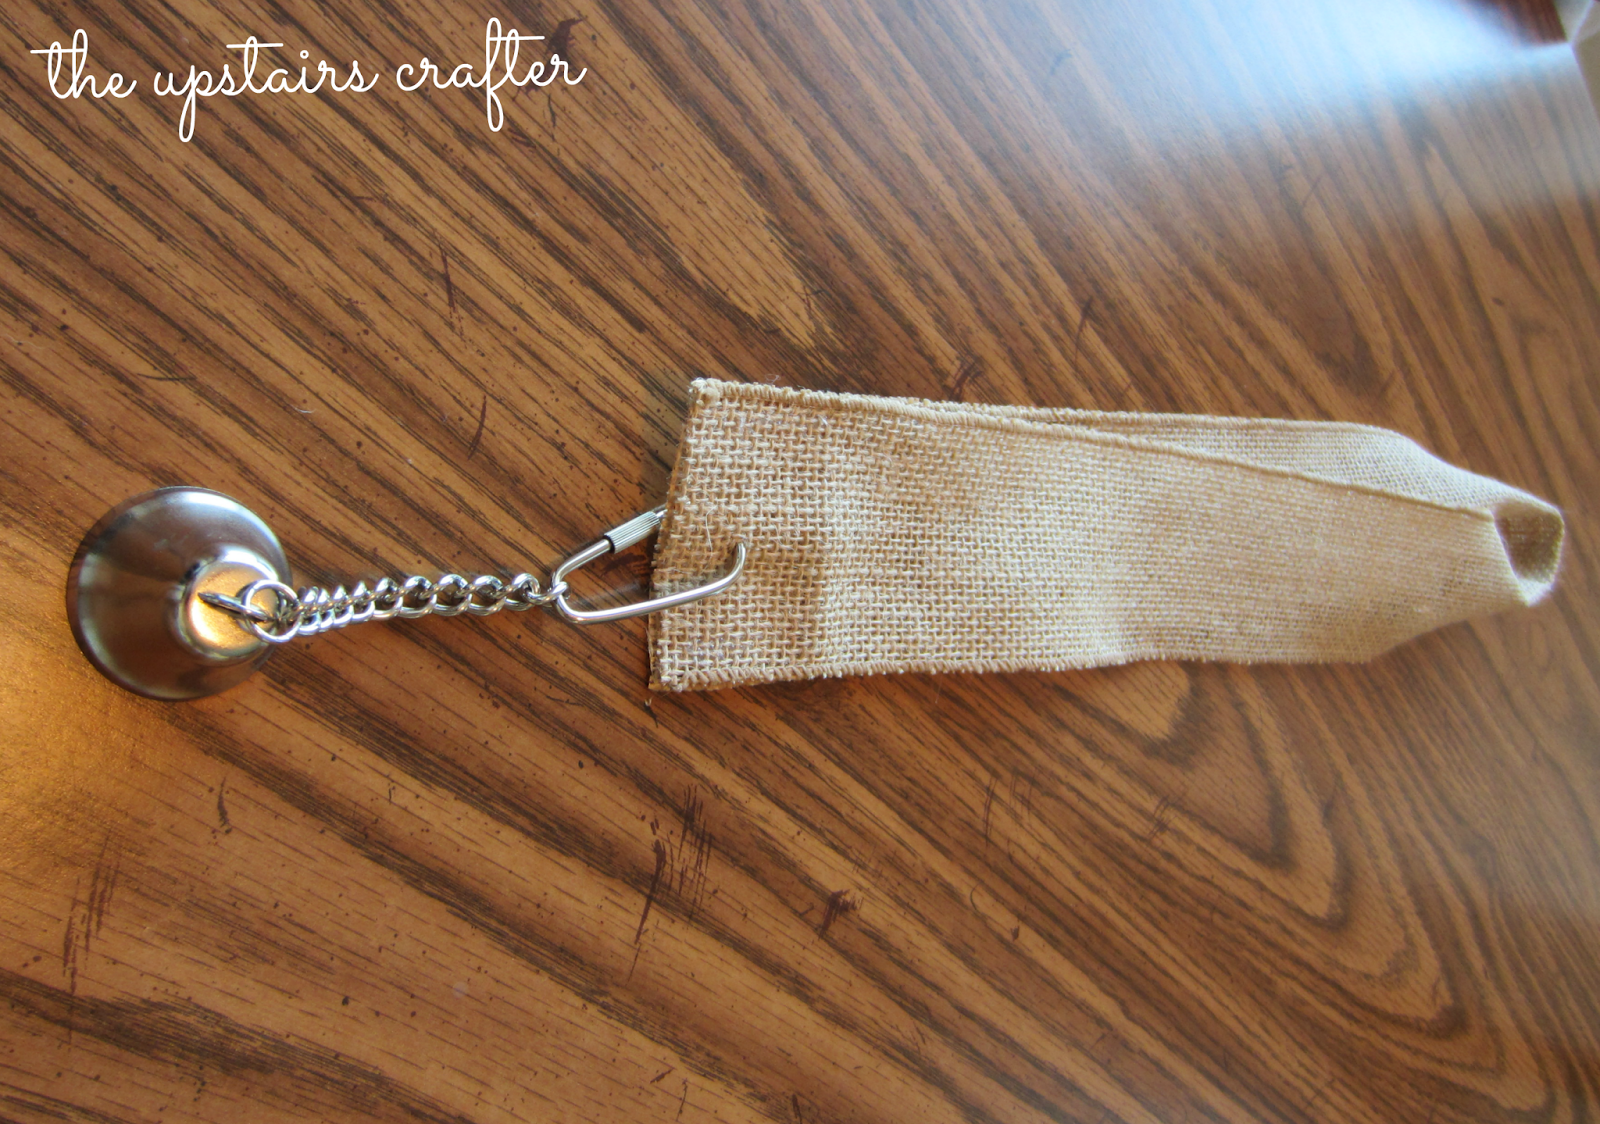
3. Bring the ends of your ribbon together so you can attach your bell. I used a bell from a bird toy I found at the pet store. It was way cheaper than an actual "dog training bell", $6 as opposed to $30. Yay for being cheap! Hot glue the ends together and hook on the bell.
4. Next you will want to make a pretty bow. Cut an appropriate length of ribbon and tie away. I had to fiddle with the knot for a few minutes so it wasn't twisted up. Then I cut triangles to make the bow a little more fancy.
5. Hot glue your bow over the bell hook. If you want you can sew in a couple of stitches for extra support. I will say I only used hot glue and after two months of being up it is still very secure! The choice is up to you! Hang your bell over the door and you're done!
I am super happy with the way my bell turned out! For me, burlap was the perfect choice as it is durable and will go with any decor for any occasion. The best part about this project was after only two short weeks Tifa was ringing the bell to let us know she had to go outside!
This picture was taken a couple weeks before Christmas, so she is a little bigger now and bulked up a little bit. Send me pictures of your finished dog bells with your furbabies, I would love to see them! You can find my email address under the "say hi" section of the blog. Or tag me on Instagram or Twitter using @upstairscrafter :)


No comments:
Post a Comment